

Tips & Tricks
Basting is a ZIP™!!!

Cut or tear sections off the Mistyfuse Zips™ to have bits of Mistyfuse® spaced (somewhat) evenly over the batting. Spots of Mistyfuse. (Not to worry if spaces are exactly equal, or if there is a wrinkle or fold here and there! Weightless Mistyfuse is very forgiving and even if you had a kink in it, it would still be undetectable in your finished quilt.) Smooth your quilttop over the Mistyfuse Zips-dotted batting and iron just enough (with or without steam) for Mistyfuse to send its fine, engineered fingers into the layers to secure them together. Turn the assembly over and...
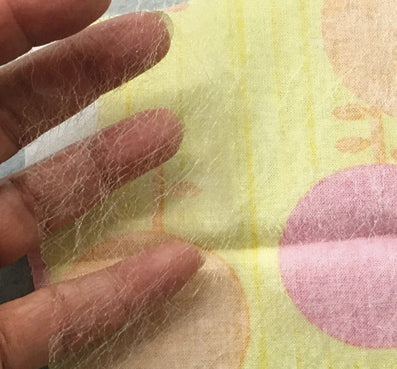
Assemble on a Goddess Sheet

Use a Goddess Sheet over a drawing for accurate and easy assembly of pieces. Just a tiny overlap will keep Mistyfused pieces together so you can place a whole assembly. Laurie Russman of Neon Kitty Quilts uses the Goddess Sheet in another interesting way—to hold small pieces of fused fabric so she can trace her very tiny shapes! You'll love her work, and she has more great tips too. Check out her blog here ... https://bit.ly/2tfR1mL and here.... https://neonkittyquilts.com/
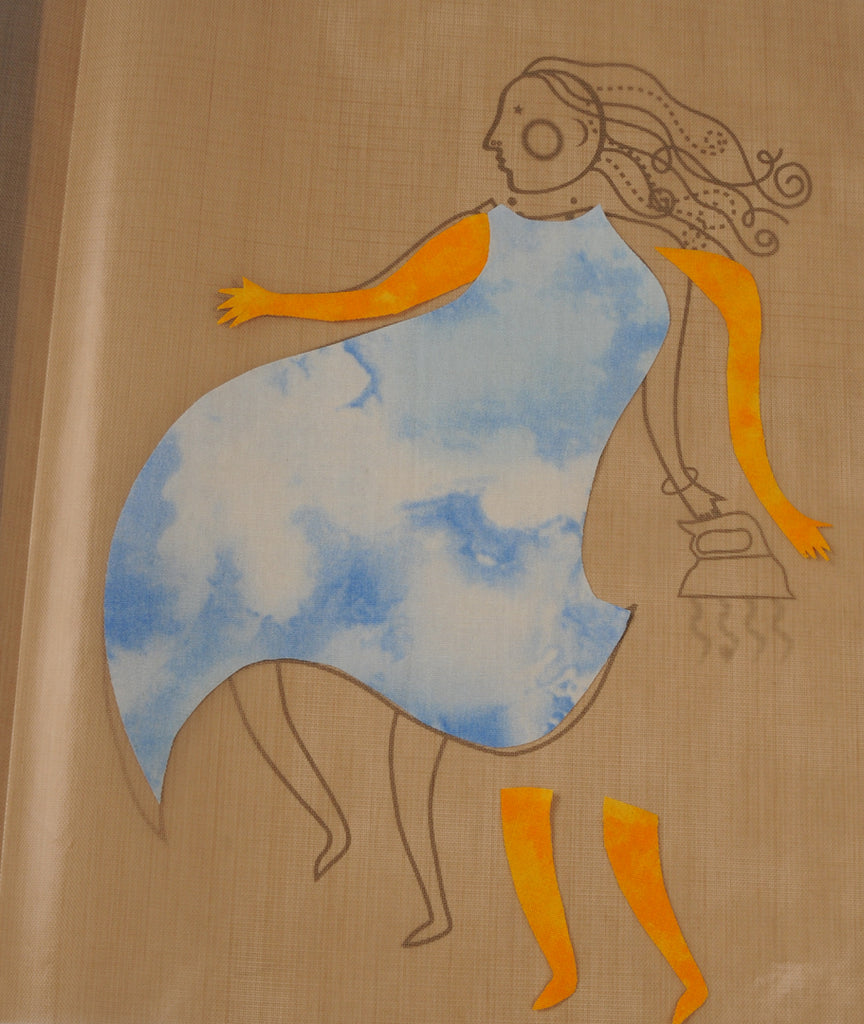
Why Mistyfuse? & How-to Pattern Transfer (Hint: Bunny Paper)

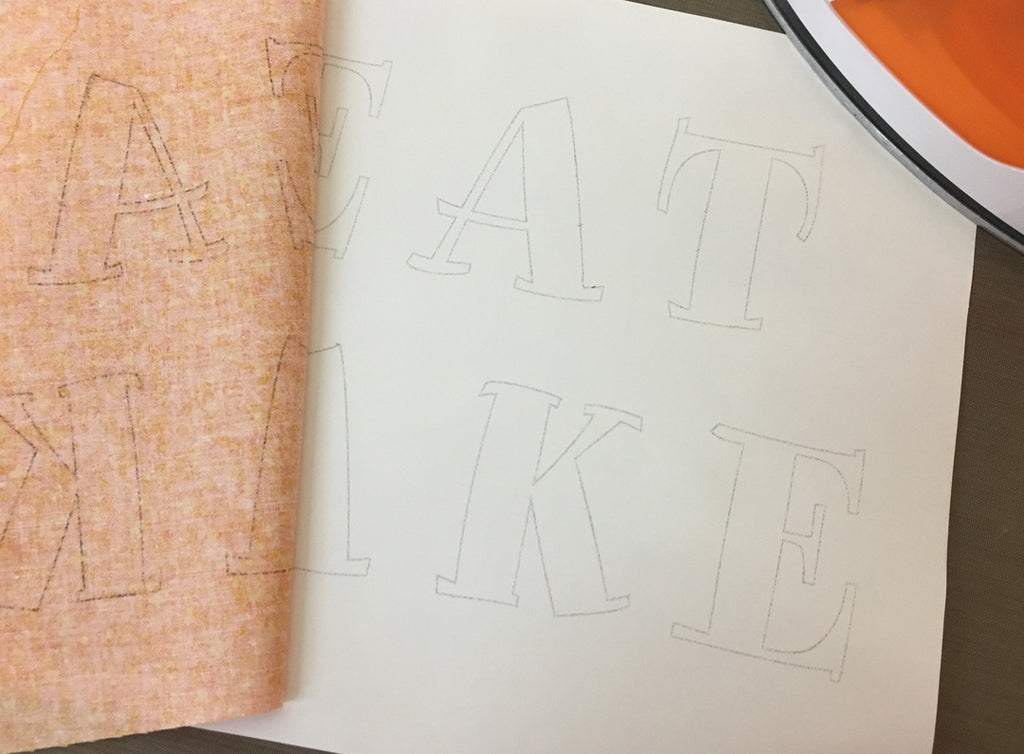
Judy Hall of Australia's Punch With Judy videoed a demo of easy pattern transfer on Mistyfused fabric with a pencil and parchment paper and alternately with our exciting new Bunny Paper, https://bit.ly/2qmy8xa
Use a Goddess Sheet® to make a fusing board.
A board, wool felt (not batting) and a staple gun. Cut the wool felt to be large enough to cover the top of the board plus cover the sides and have enough to wrap to the back of the board. Cut the Goddess Sheet similarly and keep the left over pieces. Wrap the felt and staple to the back. Trim the bulk at the corners so that the board sits firmly and evenly on your table. Wrap the Goddess Sheet over the felt, folding the corners neatly to the back. Staple in place. Adding a Mistyfused trim over the edges...
A fun, fast, fused fleece throw. (try saying that fast 3x!)

This fast assembly has 3 layers. You will apply Mistyfuse to only the 2 outer layers. Prefuse ONE SIDE of each of the 2 outer layers. (That Mistyfused side will fuse to the solid center layer.) Cut shapes out of each prefused layer. Note: DON'T try to align the cutouts on each side. It works better if they are not aligned once the layers are assembled. Sandwich the 3 layers to iron together. Cover the fleece with a damp towel for ironing. The steam helps the heat get through the fleece to achieve the bond and the texture of the...